
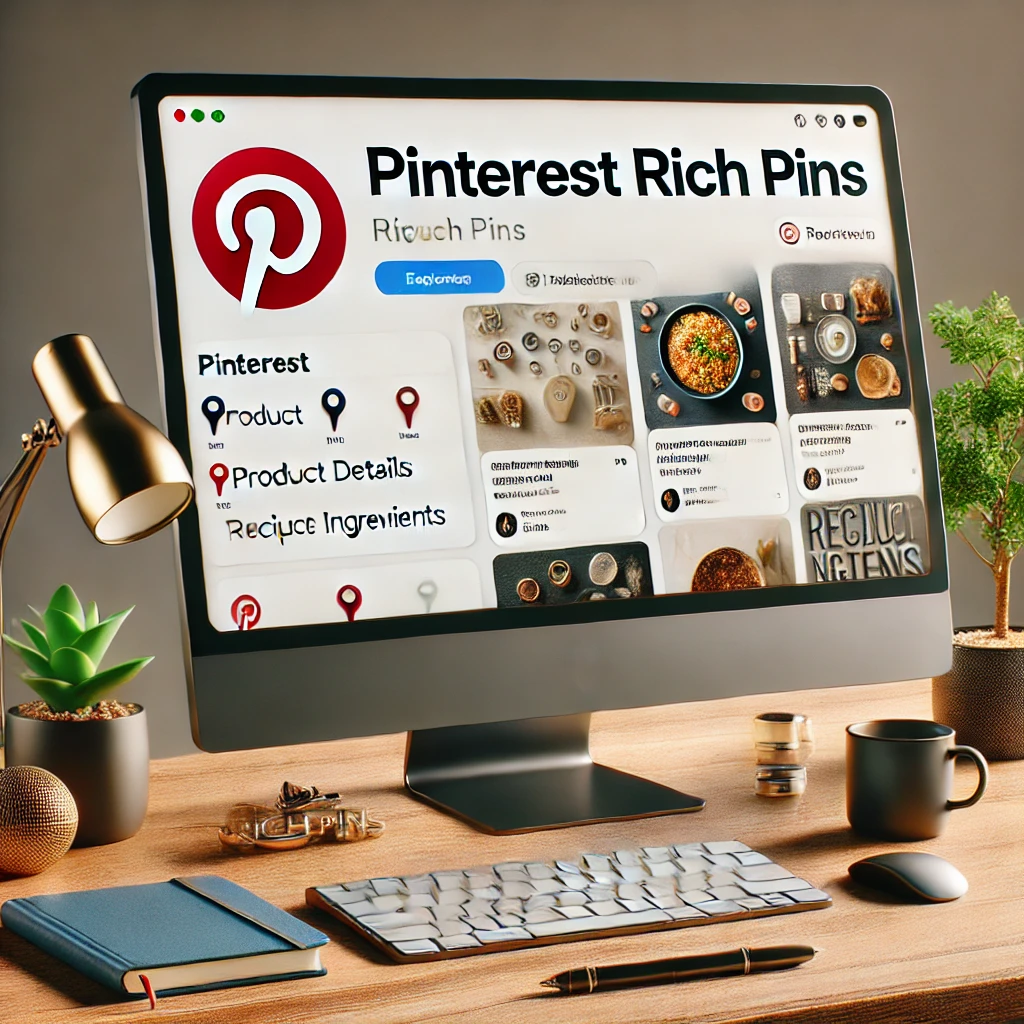
Boost engagement on Pinterest with Rich Pins! Learn how to set up, validate, and optimize Rich Pins on your website to drive more traffic and increase brand visibility.

Picture a regular pin as a snapshot. It shows what your page looked like the day you pinned it, and it never changes again. Drop your price, sell out, rewrite the headline, and that pin keeps showing the old version to everyone who saved it.
Rich Pins fix that. They pull live details from your page (price, availability, recipe ingredients, article byline) and keep them in sync with your site. Update the source, and the pin follows. Here’s how to turn them on, and what has changed, because Pinterest quietly rewired this process and a lot of older guides still send you to a tool that no longer exists.
Table of Contents
- What Are Pinterest Rich Pins?
- How Rich Pins Benefit Your Business
- How to Set Up Rich Pins Easily
- Testing and Verifying Rich Pins
- Optimizing Your Rich Pins
- Conclusion
What Are Pinterest Rich Pins?
A Rich Pin reads the metadata on your web page and shows that extra detail directly on the pin. Regular pins are static. Rich Pins stay tied to your page, so if you change a price or mark something out of stock, the pin reflects it without you re-pinning anything.
Pinterest supports three types today: Product, Recipe, and Article. Product Pins show current price, availability, and product details. Recipe Pins add ingredients, serving size, cook time, and diet labels like vegan or gluten-free. Article Pins pull the headline, author, and description from a blog post. If you’ve read older tutorials mentioning App or Place Rich Pins, ignore them. Pinterest retired both years ago, so don’t waste time chasing markup for pins that no longer exist.
How Rich Pins Benefit Your Business
The honest pitch is that Rich Pins add context, and context tends to earn clicks and saves. Here’s what you actually get:
- More context, less guessing: A price or ingredient list on the pin itself tells people what they’re getting before they click.
- Automatic updates: Change a product or post on your site and the pin follows, so you’re not stuck editing pins by hand.
- Brand recognition: Rich Pins surface your site’s name and favicon, which reinforces who the content came from.
- Better-qualified clicks: People who see the detail and still click are usually closer to buying or reading.
One caveat: Rich Pins are not a growth hack. They make good content clearer, not mediocre content viral. Treat them as table stakes, not a magic lever.
How to Set Up Rich Pins Easily
This is where most old guides go wrong. Pinterest used to make you validate a URL and formally apply for Rich Pins. That step is gone. Today you add the right metadata to your pages and Pinterest picks it up automatically when you pin. Two things to do, and one thing you no longer have to.
Step 1: Add the Necessary Metadata
Pinterest reads standard markup, and the two formats it accepts are Open Graph and Schema.org. If you’re on WordPress, a plugin handles this for you.
- For WordPress: Install an SEO plugin like Yoast SEO. It adds Open Graph tags to your posts and pages automatically once activated. WooCommerce product pages also output product markup that Pinterest can read.
- For Non-WordPress Sites: Add Open Graph tags by hand to the
<head>of your pages. Here’s a basic product example:
Example of Metadata for a Product Page
<!-- Example of Open Graph metadata -->
<meta property="og:type" content="product" />
<meta property="og:title" content="Product Name" />
<meta property="og:description" content="A short description of the product." />
<meta property="og:price:amount" content="49.99" />
<meta property="og:price:currency" content="USD" />
<meta property="og:image" content="https://yourwebsite.com/path-to-image.jpg" />
Save and publish so the tags are live, and make sure the page is public. Pinterest can’t read metadata behind a login or on a draft.
Step 2: Pin and Let Pinterest Do the Rest
Once the tags are on your pages, there’s no button to press. Pin a page that has the markup, and Pinterest reads the tags and turns it into a Rich Pin on its own. It may take a little while for the enriched data to show, so give it some time before assuming something’s broken.
You’ll want a Pinterest business account for this, since Rich Pins and analytics live on the business side. It’s free to convert.
What You Can Skip Now
The old Rich Pin Validator (the URL debugger at developers.pinterest.com/tools/url-debugger/) is retired, and that link now redirects to Pinterest’s Rich Pins documentation. There is no separate apply-and-wait-for-approval step anymore. If a guide tells you to validate a URL and click “Apply,” it’s out of date.
Testing and Verifying Rich Pins
Since Pinterest no longer hands you a pass or fail screen, verifying is on you. It’s quick:
- Pin a real page: Create a pin from a product or post that has the metadata, then look at the pin. If the price, availability, or byline shows up, your tags are working.
- Check the raw tags: View the page source and confirm the
og:tags are actually there. A missing or empty tag is the usual reason a Rich Pin doesn’t fill in. - Cross-check with a debugger: Rich Pins use Open Graph, the same standard other platforms read, so a tool like the Sharing Debugger can flag broken or missing OG tags that would also trip up Pinterest.
Optimizing Your Rich Pins for Engagement
The metadata does the enriching. Your job is to make the pin worth looking at. A few things that reliably help:
- Use tall, high-quality images: Pinterest is visual and favors vertical pins. Stick to a 2:3 ratio (1000 x 1500 pixels is a safe default) and use sharp, uncluttered images.
- Write a real description: Even with metadata on the pin, a clear description with the words people actually search helps your pin get found.
- Keep your metadata honest: The whole point is live accuracy, so make sure your prices and product details on-site are correct. Outdated tags mean outdated pins.
- Watch the numbers: Use Pinterest Analytics to see which pins earn impressions, saves, and clicks, and lean into what’s working instead of guessing.
Conclusion
Rich Pins are worth the twenty minutes it takes to set up. Add the right metadata, pin a page, confirm the details show, and you’re done. No validator, no application, no waiting on approval.
Keep your on-site data accurate and your images strong, and Rich Pins will quietly do their job in the background, showing people current, trustworthy detail every time they run into your content on Pinterest.